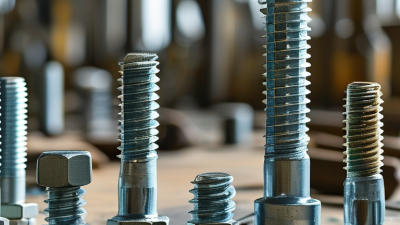
Self Tapping Bolts can create their own mating threads as they enter a suitable material, reducing the need for a pre-tapped hole. For installers, that can mean fewer preparation steps and a quicker assembly. The exact process depends on the bolt’s design and the material being joined. Some types form threads; others cut them. The distinction matters.
These fasteners are commonly considered for sheet metal, equipment housings, and other assemblies where access or production time is limited. Picture a technician securing a panel with a driver: the right bolt can make installation straightforward, while the wrong one can strip the material or leave a loose joint. Small details count. Material thickness, hardness, hole size, and installation torque all affect the result. A pilot hole may still be needed, even when a fastener is called self-tapping.
The name can be confusing. In some industries, “bolt” and “screw” are used differently, so checking the product specification is more useful than relying on the label alone. Self-tapping designs are not a universal replacement for nuts, threaded inserts, or standard fasteners. They work best when matched to the substrate and the joint’s expected load. This guide explores why people use them, where their advantages matter, and what to check before choosing one. A little caution helps. The fastest installation is not always the most dependable one.
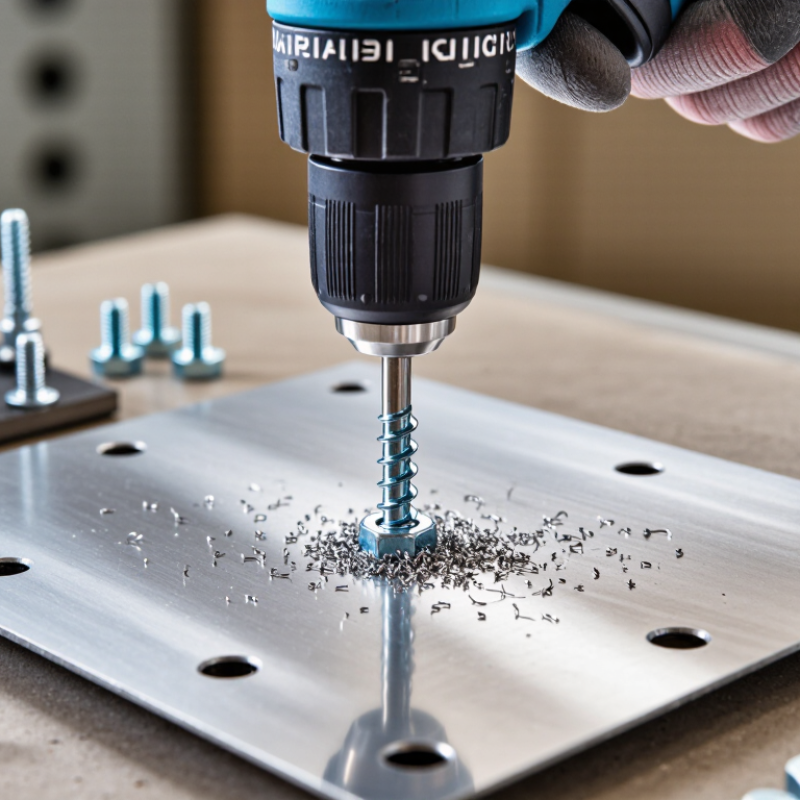
A self-tapping bolt forms or cuts its own thread as it enters a suitable material. It usually needs a correctly sized pilot hole, though some designs can start without one. Its threads engage the material directly, rather than relying on a pre-threaded hole or separate nut. That changes the workflow. A standard bolt typically passes through aligned parts and tightens into a nut or an existing threaded hole.
The difference matters during installation and repair. For example, fastening a bracket to sheet metal may be quicker with a self-tapping design, provided the material and fastener are compatible. Standard bolts are often a better fit for assemblies that need repeated removal or controlled clamping. Check the material thickness, hole size, thread type, and expected load before choosing. A bolt that bites easily is not automatically a secure bolt. Fit matters. I would not assume one fastener suits every joint; that assumption is easy to make and hard to undo.
Tips: Use the specified pilot-hole diameter, keep the fastener straight, and tighten gradually. Stop if the head turns without firm resistance or the material starts to deform. For critical or load-bearing joints, follow the equipment maker’s specifications and verify the connection after assembly.
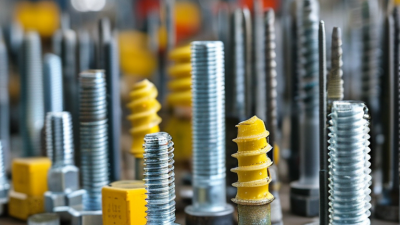
A self-tapping bolt creates its mating thread as it enters a prepared hole. Its tapered tip starts the process, while shaped threads engage the surrounding material. Depending on the design, the bolt cuts away a small amount of material or pushes it aside to form a thread. These actions are not identical. A cutting style may leave tiny chips; a forming style displaces material instead.
During installation, steady alignment helps the tip stay centered and the threads engage evenly. A pilot hole that is too small can demand excessive torque or damage the material. One that is too large may leave weak thread engagement. Follow the fastener’s specifications for hole size, material, and installation method. Check the fit on a sample piece when the material or application is unfamiliar. Small details matter.
In sheet metal, for example, a properly sized hole lets the bolt’s threads bite without visibly buckling the panel. In softer materials, thread-forming designs can create a snug fit by compressing the hole wall. Harder materials may need a cutting design and closer attention to drilling conditions. Installers sometimes rush this step; even a slight tilt can produce uneven engagement. The result may feel secure, but it deserves a closer inspection. A stripped hole can mean the thread never formed properly.
Self-tapping bolts can form threads as they are driven into a prepared hole, reducing the need for a separate tapping operation. Fewer steps. On a production line, that can save time when many brackets or panels need fastening. The installer drills the specified pilot hole, aligns the parts, and drives the bolt with a suitable tool. Some designs also help maintain consistent thread engagement across repeated assemblies.
They can be useful for equipment housings, sheet-metal parts, and other applications where the material and fastener are properly matched. A secure fit depends on details: material thickness, pilot-hole diameter, bolt geometry, and installation torque. Too much torque can damage the new threads; too little may leave the joint loose. Not in every case. Hard or thick materials may need a different fastening method, and repeated removal can wear the formed threads. A practical check is to inspect a sample joint for a flush head, firm seating, and no visible cracking or stripped material. The small setup details matter more than the speed claim.
This comparison shows the typical number of separate operations needed to fasten into an initially undrilled, untapped workpiece: drilling and tapping for a machine screw, drilling a pilot hole and driving for a self-tapping screw, and driving for a self-drilling screw. Self-tapping fasteners usually require a pilot hole; self-drilling designs can make their own hole in materials within their rated capacity. Always follow the fastener manufacturer’s guidance for the material and application.
Self-tapping fasteners create or cut threads as they enter a prepared material, reducing the need for a separate threading step. Their materials and tip designs vary. Carbon-steel versions are common in general fabrication; stainless steel is useful where moisture or cleaning exposure raises corrosion concerns. Coated steel can suit indoor assemblies, but damaged coatings may leave exposed areas vulnerable.
The choice depends on the substrate and the environment. Hardened steel fasteners are often used to join thin metal panels, while suitable designs can secure plastic housings or timber components. World Steel Association data put global crude-steel production at 1,892.2 million tonnes in 2023; the International Stainless Steel Forum reported 58.4 million tonnes of stainless-steel production that year. These figures show the scale of available steel materials, not the share used for fasteners. Fit matters. A wrong thread can strip soft plastic or distort thin sheet metal.
Tips: Match the thread and point to the material, then check the manufacturer’s installation guidance. Use a pilot hole when specified, and avoid overtightening. A quick test on scrap material helps, though it cannot fully predict long-term corrosion or vibration performance.
Select the fastener for the materials being joined, not just its advertised size. Check the base material, combined thickness, and whether the hole is predrilled. A screw for thin sheet metal may strip soft plastic or fail to form threads in thick steel. Match the thread style and point to the substrate, then confirm the manufacturer’s technical data for the intended material.
Diameter and length matter. Too short, and the threads may barely engage; too long, and the tip can damage hidden components. Check the required edge distance and clearance, too. For outdoor or damp locations, choose a corrosion-resistant material or coating compatible with both joined materials. Mixed metals can corrode; it is easy to miss this during a quick parts check.
Control installation torque with care. NASA’s Fastener Design Manual, RP-1228, describes a typical nut factor near 0.2 for steel fasteners and explains how friction affects torque and clamp load. That value is not a self-tapping screw setting. Treat it as a warning: driving torque does not reliably prove a sound joint. Test a sample in the actual material, inspect for cracking or stripped threads, and verify retention. I would recheck the pilot-hole size, even when the packaging makes it seem obvious.