
Company News

How to Choose the Right Masonry Anchors?

Choosing the right Masonry Anchors starts with understanding what you are fastening and what lies behind the surface. Brick, concrete, and hollow block do not hold anchors in the same way. A fastener that performs well in solid concrete may be unsuitable for a hollow masonry unit. That matters. The anchor must match the base material, the fixture, and the forces involved, including pull-out, shear, and vibration.

This guide explains the details that influence anchor selection, from diameter and embedment depth to corrosion exposure and installation method. A shelf in a dry garage has different demands from a handrail exposed to rain and frequent use. Small details count. Check the anchor manufacturer’s specifications, especially required hole size, drilling method, edge distance, and load ratings. Masonry condition also deserves attention: cracked brick, weak mortar, and dusty holes can affect performance. Even careful installers can overlook these factors. I have to admit, material identification is not always obvious from the surface alone. When the substrate or load is uncertain, pause and verify it rather than relying on appearance. The right choice is not simply the strongest-looking anchor; it is one rated for the actual material and application, installed as directed.
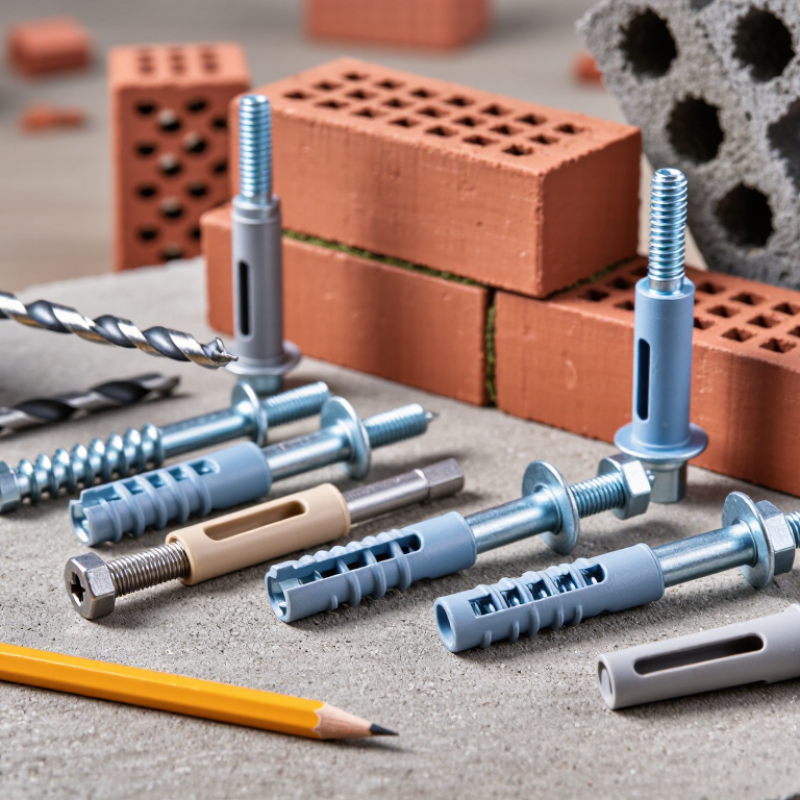
How to Choose the Right Masonry Anchors?

Understanding Masonry Types and Anchor Requirements

Choosing a masonry anchor starts with identifying the wall, not the fixture. Clay brick, hollow concrete block, solid concrete, and stone each transfer load differently. Hollow block can crush around a fastener. Old brick may split under expansion pressure. Solid concrete usually offers more predictable embedment.

The National Concrete Masonry Association’s TEK 12-3B guidance stresses that anchor capacity depends on substrate strength, embedment depth, edge distance, and installation quality. Small details matter. A dusty hole can reduce grip. A shallow hole can create failure. For cracked or heavily loaded masonry, designers should verify capacities through testing methods such as ASTM E488/E488M. Published values are not universal; they depend on the exact masonry assembly.

A practical selection begins with load type. Use compatible anchors for tension, shear, or combined loading. Check the manufacturer’s tested data, approved diameter, spacing, and minimum edge distance. The 2024 International Building Code also requires attention to seismic and structural conditions where applicable. FEMA P-1050 highlights the importance of anchorage continuity during earthquake movement. On site, installers often focus on drill size and overlook joint location. That is a mistake. Mortar joints may provide weaker resistance than the masonry unit itself. I would also question any calculation based only on “concrete strength.” Masonry is not concrete, and field conditions rarely look perfect.
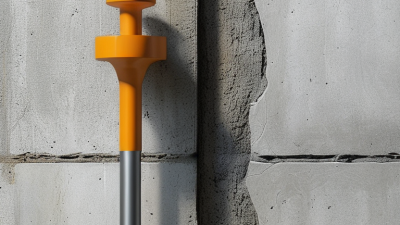
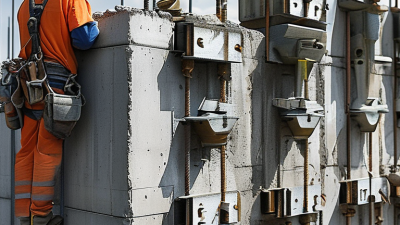
Comparing Common Masonry Anchor Designs

How to Choose the Right Masonry Anchors?

Comparing Common Masonry Anchor Designs

Choosing the right masonry anchor starts with the wall, not the package. Concrete, solid brick, and hollow block behave differently under load. On site, I check the substrate with a small pilot hole and inspect dust, voids, and cracking. That simple step prevents many wrong assumptions. Sleeve anchors expand along the hole and suit medium-duty fixtures in sound concrete or solid masonry. Their washers spread pressure across brackets and plates.

Wedge anchors clamp hard, dense concrete with strong expansion force. They work well for structural brackets, but require enough edge distance and embedment. Too close to an edge can split brittle masonry. Masonry screws cut threads into the base material and are fast, removable, and practical for lighter fixtures. They need a clean, correctly sized pilot hole. I have seen poor holding power after installers used worn bits or excessive torque. The quick option failed.

For hollow block, toggle-style anchors spread force behind the face shell, but their capacity may be limited. Drop-in anchors provide flush internal threads in solid concrete and require careful setting.

Chemical anchors can perform well in cracked or demanding masonry when the hole is cleaned and the curing time is respected. Damp locations also call for suitable corrosion resistance.

I still recheck the load table, edge distance, embedment, and installation torque before fixing anything overhead. Measurements matter. Shamefully, rushed preparation remains an easy mistake.

Matching Anchor Materials and Load Ratings to the Project

How to Choose the Right Masonry Anchors?

Choosing masonry anchors begins with matching the material to the wall, not the package label. Concrete, solid brick, hollow block, and mortar joints behave differently under tension and shear. A stainless-steel anchor may resist corrosion well, but it can still fail in weak masonry. Field experience shows that drilling dust, edge distance, and installation angle often influence performance more than expected.

Load ratings require careful interpretation. The reported value may represent ultimate strength, allowable load, or a laboratory result. These numbers are not interchangeable. ASTM E488/E488M evaluates anchor performance through tension and shear testing, while ICC-ES acceptance criteria require attention to cracked concrete, spacing, and installation conditions. For masonry, the International Building Code also directs designers toward approved systems and qualified engineering judgment. A 2023 FEMA technical reference emphasizes that seismic anchorage must account for repeated movement, not only a single static load. Real walls are less cooperative.

Tips: Identify the base material first. Check the anchor’s published allowable load, embedment depth, edge distance, and corrosion class. Reduce capacity when the substrate is hollow, damaged, damp, or close to an edge. Use a calibrated torque wrench where required. Clean the hole completely. Small shortcuts matter. I have seen a strong anchor underperform because the hole was oversized. Recheck the calculation when fixtures become heavier. An overlooked cable tray or bracket can change the design. Always document the substrate, anchor spacing, installation torque, and inspection results for future review.

Selecting Anchor Size, Embedment, and Spacing

How to Choose the Right Masonry Anchors?

Anchor size, embedment, and spacing must work together. A larger diameter does not always create a stronger connection. The masonry unit, mortar condition, load direction, and edge distance can control performance. TMS 402/602-22 provides masonry design provisions, while ASTM E488/E488M-22 evaluates anchor behavior under tension and shear. Use tested capacities, not assumptions from product diameter.

Embedment should reach sound masonry, not a hollow cell or loose mortar joint. For example, a four-inch embedment may perform poorly if the drill hole crosses a weak face shell. Spacing also matters. Closely placed anchors can share one cracked stress zone, reducing group capacity. Field crews should mark anchor centers, verify hole depth, and clean dust before installation. I still recheck spacing after layout. Small errors become expensive repairs.

Tips: Check the anchor’s published tension and shear values. Confirm the substrate before drilling. Keep anchors away from unsupported edges. Follow the applicable evaluation report and project drawings. When conditions differ, ask a qualified structural engineer to review the connection. A neat layout is not proof of adequate design.

How to Choose the Right Masonry Anchors? - Selecting Anchor Size, Embedment, and Spacing

Anchor Diameter Typical Effective Embedment Preliminary Minimum Edge Distance Preliminary Minimum Spacing Suitable Applications Important Selection Notes
1/4 in (6 mm) 1-1/2 to 2 in
(38 to 50 mm)
4 in (100 mm) or 4d, whichever is greater 6 in (150 mm) or 6d, whichever is greater Light-duty signs, small brackets, cable supports, and non-structural fixtures Use only in sound masonry and for loads within the tested capacity of the selected anchor system.
5/16 in (8 mm) 2 to 2-1/2 in
(50 to 65 mm)
4 in (100 mm) or 4d, whichever is greater 6 in (150 mm) or 6d, whichever is greater Light to moderate brackets, handrails with low demand, and service equipment supports Avoid placing the anchor close to mortar joints, corners, or damaged masonry.
3/8 in (10 mm) 2-1/2 to 3 in
(65 to 75 mm)
5 in (125 mm) or 4d, whichever is greater 8 in (200 mm) or 6d, whichever is greater Medium-duty equipment frames, structural brackets, and guard components A common general-purpose diameter; verify tension, shear, and combined-load performance.
1/2 in (12 mm) 3 to 4 in
(75 to 100 mm)
6 in (150 mm) or 4d, whichever is greater 9 in (225 mm) or 6d, whichever is greater Heavy-duty brackets, equipment supports, and higher-demand connections Longer embedment does not compensate for weak, cracked, hollow, or deteriorated masonry.
5/8 in (16 mm) 4 to 5 in
(100 to 125 mm)
8 in (200 mm) or 4d, whichever is greater 12 in (300 mm) or 6d, whichever is greater High-demand connections where the masonry assembly and anchor system are specifically designed for the load Requires project-specific engineering, load calculations, and confirmation of the substrate capacity.
Selection Guidance: Choose the anchor type according to the masonry substrate. Expansion anchors are generally intended for solid, sound masonry; sleeve or screw anchors may be appropriate for some masonry conditions; hollow or perforated brick and block usually require an anchoring system specifically tested for hollow units. The values above are preliminary layout guidelines, not universal design values. Final anchor diameter, embedment, spacing, edge distance, allowable load, and installation procedure must be verified against the selected anchor system, masonry unit, mortar condition, applicable building code, and project loads.

Checking Installation Conditions and Long-Term Performance

How to Choose the Right Masonry Anchors?

Checking Installation Conditions and Long-Term Performance

A reliable masonry anchor starts with the wall, not the product label. Identify whether the base is solid concrete, hollow block, brick, or mortar joint. Check its condition for cracks, loose sections, moisture, and previous repairs. Anchor capacity can change sharply near edges or weak joints. Confirm the expected load, embedment depth, hole diameter, and installation temperature. The supplier’s technical data should support these decisions.

Tips: Drill straight, clean the hole thoroughly, and remove dust before setting the anchor. Keep the specified edge distance. Do not tighten by guesswork. A calibrated torque wrench is safer. Inspect the anchor after installation, especially on overhead or vibration-sensitive work.

Long-term performance also depends on exposure. Choose corrosion-resistant materials for damp, coastal, or chemically exposed locations. Prevent water from entering around the fixing when the wall faces rain. During site work, I have seen good anchors fail because installers ignored damaged brick or over-tightened hollow masonry. That mistake is easy to repeat. It deserves a pause. Record anchor type, embedment, torque, and inspection results. Where loads are critical, arrange pull-out testing or review by a qualified engineer. Masonry is not always uniform, and assumptions can age badly.

How to Choose the Right Masonry Anchors?

Checking installation conditions and long-term performance starts with understanding the substrate. The chart shows representative compressive-strength ranges for common masonry materials and concrete. Actual values vary by product, age, moisture content, and site conditions.

Use anchors specifically approved for the substrate, confirm the required embedment and edge distance, clean drilled holes thoroughly, and select corrosion-resistant materials where moisture or outdoor exposure is expected. For hollow or weak masonry, load testing and project-specific engineering verification are recommended.