Unlocking the Power of Self Tapping Bolts: Essential Guide for Home DIY Enthusiasts
 In recent years, the DIY home improvement market has witnessed a remarkable surge, with a 25% growth rate reported in 2022 alone, driven by an increasing number of homeowners seeking cost-effective and practical solutions for their projects. Among the plethora of fastening solutions available, Self Tapping Bolts have emerged as a vital component for both serious DIY enthusiasts and casual home improvers. These innovative fasteners not only simplify the assembly process by eliminating the need for pre-drilling but also ensure a secure and durable connection in various materials, including wood, metal, and plastic.
According to industry forecasts, the demand for self-tapping fasteners is expected to increase by 15% annually, indicating a clear shift towards efficiency and reliability in home projects. This guide delves into the essential advantages, applications, and best practices for using Self Tapping Bolts, empowering homeowners to harness their full potential for successful DIY endeavors.
Understanding Self Tapping Bolts: What They Are and How They Work
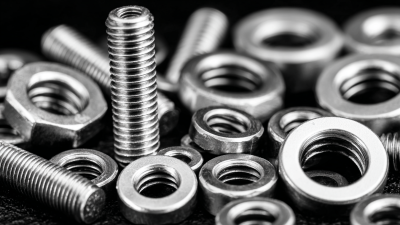
Self-tapping bolts are an innovative solution for DIY enthusiasts looking for reliable fastening options. They work by creating their own threads as they are driven into materials, eliminating the need for pre-drilled holes. This feature makes them particularly useful in various applications, from metalwork to woodworking. Understanding their mechanics can help you select the right type for your project, ensuring your fasteners provide maximum support and durability.
When working with self-tapping bolts, it's essential to keep a few tips in mind. First, always choose the correct size and type for the material you're working with to ensure optimal performance. Additionally, make sure your tools are compatible and in good condition to minimize the risk of damaging the bolt or the workpiece. Lastly, if you encounter a stuck bolt, try applying some penetrating oil to help loosen it before applying force; this simple trick can save you time and frustration.
With the right approach and understanding of self-tapping bolts, you can tackle a wide range of home improvement projects with confidence, knowing that you're using effective fastening solutions.
Unlocking the Power of Self Tapping Bolts: Essential Guide for Home DIY Enthusiasts
| Dimension |
Description |
Typical Uses |
Material Compatibility |
| Diameter |
The thickness of the bolt, typically measured in millimeters (mm). |
Furniture assembly, appliances. |
Metal, plastic, wood. |
| Length |
The overall length of the bolt, also measured in mm. |
Construction, automotive repairs. |
Metal, wood. |
| Thread Pitch |
The distance between threads, usually measured in mm. |
Heavy-duty applications. |
Metal. |
| Head Type |
Shape of the bolt head, such as hex, pan, or round. |
General construction, DIY projects. |
Varied, depending on design. |
| Coating |
Additional layer for protection against corrosion. |
Outdoor projects, marine applications. |
Metal, usually combined with rust-resistant coatings. |
Choosing the Right Self Tapping Bolt for Your DIY Project
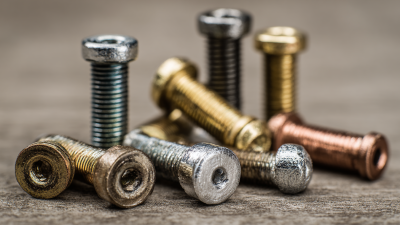
Choosing the right self-tapping bolt for your DIY project is critical for achieving durable and reliable results. When selecting self-tapping bolts, consider factors such as material, thread type, and length. Stainless steel bolts are ideal for outdoor applications due to their resistance to corrosion, while zinc-plated options are suited for indoor projects. Ensure the bolt's thread type matches the materials you are joining; this will enhance grip and stability.
Additionally, pay attention to the size and length of the self-tapping bolts. Using a bolt that's too short may compromise the integrity of your project, while one that's too long could damage underlying materials. Understanding the specific requirements of your project will help you choose the most effective bolt, ultimately making your DIY endeavors more successful. With the right tools and hardware, you can unlock the full potential of your projects, transforming your creative ideas into tangible outcomes.
Step-by-Step Guide to Installing Self Tapping Bolts
When it comes to DIY projects,
self-tapping bolts are an invaluable tool.
They simplify the process of joining materials without the need for pre-drilled holes.
To begin installing self-tapping bolts, you'll need to gather the right tools:
a drill,
a suitable socket wrench,
and the self-tapping bolts themselves.
First, mark the spot on your material where the bolt will be inserted.
Ensure that the area is clean and free from debris for a smoother installation.
Next, use your drill to create a pilot hole if required, though many self-tapping bolts can cut their own threads in most materials.
Align the bolt with the drilled hole and start turning it clockwise using the socket wrench.
Apply steady pressure as you drive the bolt into place.
Ensure that it is snug but not overly tight, as this can strip the threads or damage the material.
Once installed, check the stability of the joint to ensure it meets the necessary strength for your project.
This straightforward process highlights the efficiency of self-tapping bolts,
making them a go-to solution for any home improvement enthusiast.
Common Mistakes to Avoid When Using Self Tapping Bolts
When using self-tapping bolts, many DIY enthusiasts face common pitfalls that can lead to frustrating results. One major mistake is failing to drill the appropriate pilot hole. While self-tapping bolts can create their own threads, ideally, a small pilot hole should be drilled to ensure proper alignment and prevent the material from splitting. Always refer to the manufacturer's guidelines for recommended hole sizes to optimize the effectiveness of your bolts.
Another frequent blunder is applying excessive torque when fastening the bolts. Over-tightening can strip the threads or damage the material, leading to a weaker joint. Instead, use a torque wrench to apply the right amount of pressure, ensuring a strong yet secure fit without compromising the integrity of the components.
Tips: Always use the right bolt materials for your specific project—stainless steel for outdoor applications or zinc-plated for indoor use. Additionally, consider using a thread-locking adhesive for extra security, especially in applications subjected to vibrations. Staying informed about the right techniques can enhance the durability and performance of your DIY projects.
Maintenance Tips for Long-Lasting Self Tapping Bolt Applications
When it comes to self-tapping bolts, proper maintenance is key to ensuring their longevity and effectiveness in various DIY projects. One essential tip is to regularly inspect the bolts for signs of rust or corrosion, especially if they are used in outdoor or humid environments. If any deterioration is noticed, it’s advisable to replace the affected bolts promptly to prevent structural weaknesses. Additionally, applying a suitable anti-corrosive coating can significantly extend their life span, providing an extra layer of protection against the elements.
Another important aspect of maintaining self-tapping bolts is ensuring that they are appropriately tightened. Over-tightening can strip the threads or damage the material being fastened, while under-tightening can lead to loosening over time. Using a torque wrench to achieve the correct tension can mitigate these risks and help maintain the integrity of the joint. Regularly checking the tightness of the bolts, particularly in high-stress applications, will contribute to a safer and more durable installation. Following these maintenance tips will not only enhance the performance of self-tapping bolts but also ensure the success of your home DIY projects.
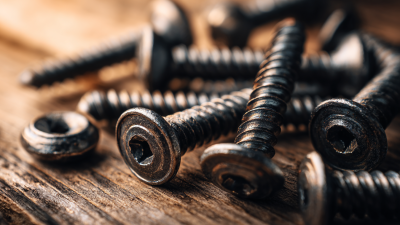
Self Tapping Bolts Usage in DIY Projects