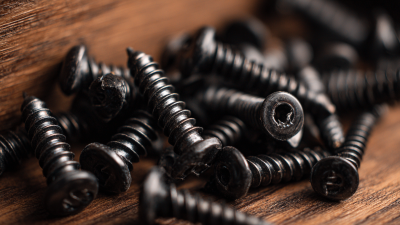
Why Use Coach Screws for Heavy Duty Wood Fixings?
Heavy-duty timber joints often look simple: a bracket, a timber beam, and one large screw. Yet the fastener choice affects how securely those parts stay together. Coach Screws are commonly used for substantial wood fixings because their coarse threads engage timber, while a hexagonal head allows controlled tightening with a suitable tool. They can be useful for fixing brackets, framing components, and outdoor structures. But size alone does not guarantee a strong connection.
The USDA Forest Products Laboratory’s Wood Handbook: Wood as an Engineering Material (FPL-GTR-282, 2021) explains that wood performance varies with species, moisture content, and grain direction. These details matter. A screw driven near a board’s edge, into damp timber, or across weak grain may perform differently from one installed in sound, dry timber. The American Wood Council’s National Design Specification for Wood Construction also treats connection capacity as a design issue, not simply a matter of choosing the thickest fastener.
That is where Coach Screws deserve a closer look. Their strength depends on the screw’s dimensions, the timber, the pilot hole, and the loads acting on the joint. A snug fit matters. So does careful installation. Even a robust screw can split wood if driven carelessly or selected without checking the application. This article explores where coach screws work well, what to consider when choosing them, and why heavy-duty fixing still requires sound judgement. There are no shortcuts here.
What Coach Screws Are and How They Are Designed
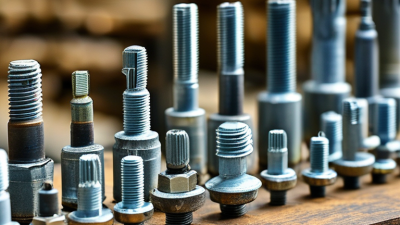
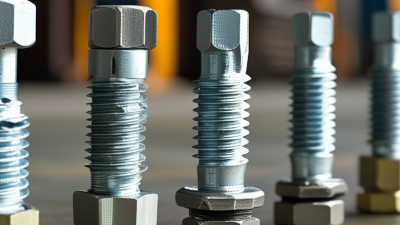
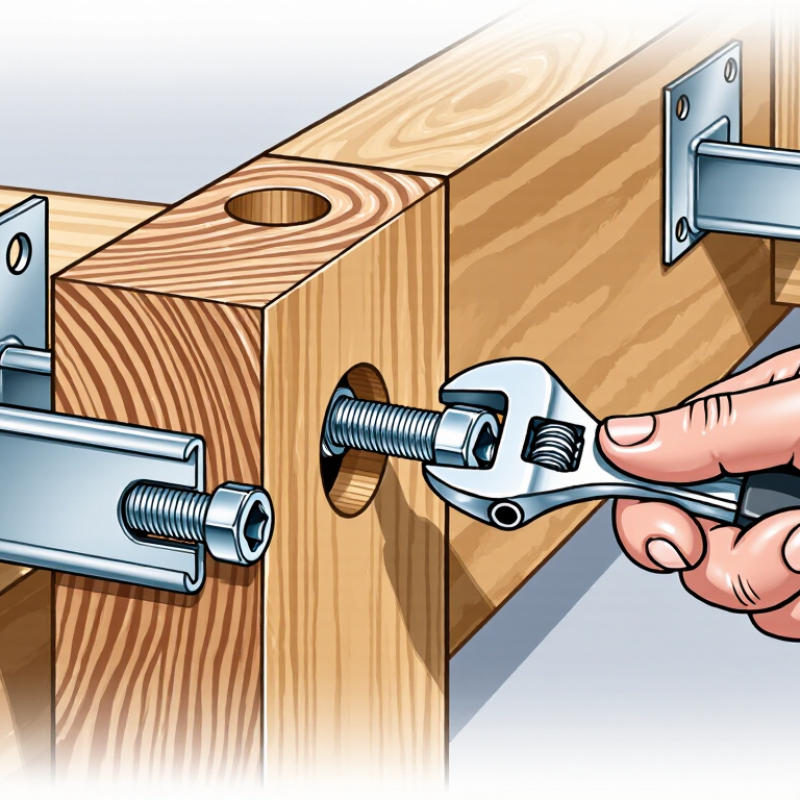
Coach screws are heavy-duty fasteners made mainly for fixing into timber. They usually have a broad hexagonal head, a tapered point, and coarse threads that bite into wood. Some designs also include a smooth section beneath the head. That matters. The head accepts a spanner or socket, so the screw can be tightened with controlled turning rather than hammered into place.
The coarse thread helps the screw grip across the grain, while the hex head provides a firm bearing surface for a washer. A pilot hole is usually important, especially near board ends or in dense hardwood. Without one, timber may split, or the screw may become difficult to drive. Hole size depends on the screw and the wood; one measurement does not suit every job.
In a practical fixing, the screw should pass through the attached piece and engage sound timber behind it. Check that the length allows enough thread to bite without emerging through the far side. Tighten steadily, and stop if the wood begins to crush. It is easy to mistake resistance for a secure fixing. Coach screws are strong, but they cannot compensate for rotten timber, poor alignment, or an unsuitable load path.
How Coach Screws Create Strong Wood-to-Wood Fixings
Coach screws create strong wood-to-wood fixings by combining a thick shank with deep, coarse threads. The threads bite into the receiving timber, pulling two boards together as the hex head is tightened.
That matters.
A deck ledger, bench frame, or substantial gate post can benefit from this direct mechanical grip. The screw is only as reliable as the timber around it.
For a sound joint, choose a screw long enough to gain firm purchase in the second piece without emerging from its far face. Drill a clearance hole through the first board, then a correctly sized pilot hole in the receiving timber. This helps the boards clamp together instead of separating under pressure. A washer can help the head bear evenly on softer wood. Keep fixings away from edges and ends; otherwise, even a large screw may split the grain.
Not magic.
Tighten steadily, and stop when the head is seated. Overdriving can crush fibres and weaken the hold, a mistake that is easy to miss beneath a large hex head. Timber species, moisture, and load direction all affect performance, so a joint carrying substantial weight deserves a careful check against the screw maker’s installation guidance.
It can feel secure before it is.
Key Benefits for Heavy-Duty Timber Projects
Why Use Coach Screws for Heavy Duty Wood Fixings?
Key Benefits for Heavy-Duty Timber Projects
Coach screws create a strong fixing by cutting into timber with their coarse threads. Their wide, hexagonal heads can be tightened with a spanner, making them useful for joining beams, posts, and substantial framing members. A washer helps spread pressure across the wood surface. That matters when a joint may be tightened firmly.
For dependable results, match screw length and diameter to the timber and the forces on the joint. Drill a suitable pilot hole, especially near board ends, to reduce splitting. Not every timber behaves alike. Dense hardwood may need a different pilot-hole size than softwood, so check the screw guidance and test on an offcut when possible. The right approach is sometimes less obvious than it looks.
Coach screws are not a substitute for sound design. Check that the timber is in good condition, the screw has enough embedment, and the fixing is suitable for its environment. Outdoor projects may need corrosion-resistant fasteners. A small mistake in spacing or edge distance can weaken an otherwise sturdy connection. For structural work with significant loads, follow a qualified professional’s specifications rather than relying on a general rule of thumb.
Choosing the Right Coach Screw for the Material and Load
Choosing the right coach screw starts with identifying the material, not just the screw length. In solid timber, consider its density, condition, and thickness. A screw driven into softwood may hold differently from one in dense hardwood. Check the screw’s diameter against the timber and leave enough material near edges to reduce splitting. A correctly sized pilot hole helps, especially in hardwood. Too small, and driving can become difficult; too large, and the threads may grip poorly. It is easy to focus on length alone. That is often a mistake.
Next, match the fixing to the load and how it acts. A bracket supporting a shelf may place different forces on a screw than a joint pulled outward. Use a suitable washer when the head needs to spread pressure across a fitting. For masonry, a coach screw generally needs a compatible anchor; it should not be driven straight into a brick or block. Damp or exterior locations also call for suitable corrosion resistance. Check the fixing guidance for the actual substrate and load, since timber species, edge distance, and installation quality all matter. A snug fit is useful, but forcing the screw until the wood creaks is not a reliable test.
How to Install Coach Screws Safely and Securely
Coach screws create strong wood-to-wood connections when their size and embedment suit the job. Secure installation starts with sound timber: check for splits, rot, and hidden services before drilling. Mark the fixing point clearly, then drill a pilot hole sized for the screw and wood species. Keep the drill perpendicular. A crooked start can make the screw wander.
The USDA Forest Products Laboratory’s Wood Handbook: Wood as an Engineering Material (2021) explains that fastener holding strength depends on factors including wood density, penetration depth, and moisture content. That is why one screw size is not right for every timber. Fit a washer where the design requires one, and tighten with a suitable spanner or controlled driver. Stop when the head and washer sit firmly; overdriving can crush the fibres or split the board. Even experienced installers can rush this step. It is worth checking alignment again.
Tips: Wear eye protection and secure the workpiece before drilling. For hardwood, use the pilot-hole guidance for the screw diameter and timber. If resistance rises sharply, stop and inspect rather than forcing it. A small test piece can reveal problems, though it may not perfectly match the final timber.